
robcat2075
-
Posts
27,758 -
Joined
-
Last visited
-
Days Won
341


robcat2075's Achievements
Animation:Master (10/10)
677
Reputation
-
Your original question... how to do these morphing clouds in the fashion of my more recent clouds made with noise combiners... I'll have to think about that more.
-
there's a zip with a PRJ in this thread https://forums.hash.com/topic/41565-cloud-fly-thru/?do=findComment&comment=369290 A sprite needs to be custom designed for each shot to appropriately represent the light/darkness/shadow direction that matches the lighting in the scene, so the sprite in that PRJ will not necessarily work for another scene. I recall we did a Live Answer Time where we got a force to blow particles away from a shape:
-
As a first gambit, recall this test from several years ago... Those clouds are modeled shapes that emit one layer of sprites on the first frame, which then live for the duration of the shot. The clouds could potentially be any shape. Since they are sprites one could add a force and turbulence that slowly blows then out of the sculpted shape. For getting into the shape, how about another shot with the force blowing in the opposite direction, then reversing the frames so that the sprites appear to arrive at the shape rather than leav it? Then edit the two renders together.
-
MadFoxResplining.mp4
-
I haven't tried it yet but try this... Delete all the poses and do a test render. Is the spline problem gone? If it is, reload, delete the poses one at a time and test render each version until the problem is gone. That will give a clue that a particular pose might be the problem.
-
First, try pressing the space bar to force a redraw. Next... does this still happen if you put the character in a chor?
-

found old model and did a bit improvement ,,I think
robcat2075 replied to johnl3d's topic in Tinkering Gnome's Workshop
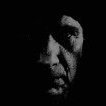
You've turned The Killer Bean into The Little Dutch Boy! 😀 -
60K... 80K... 100K views for my Heavy Push!
robcat2075 replied to robcat2075's topic in Animation:Master
It took 17 years but my Heavy Push has now surpassed 100,000 views on YouTube! -
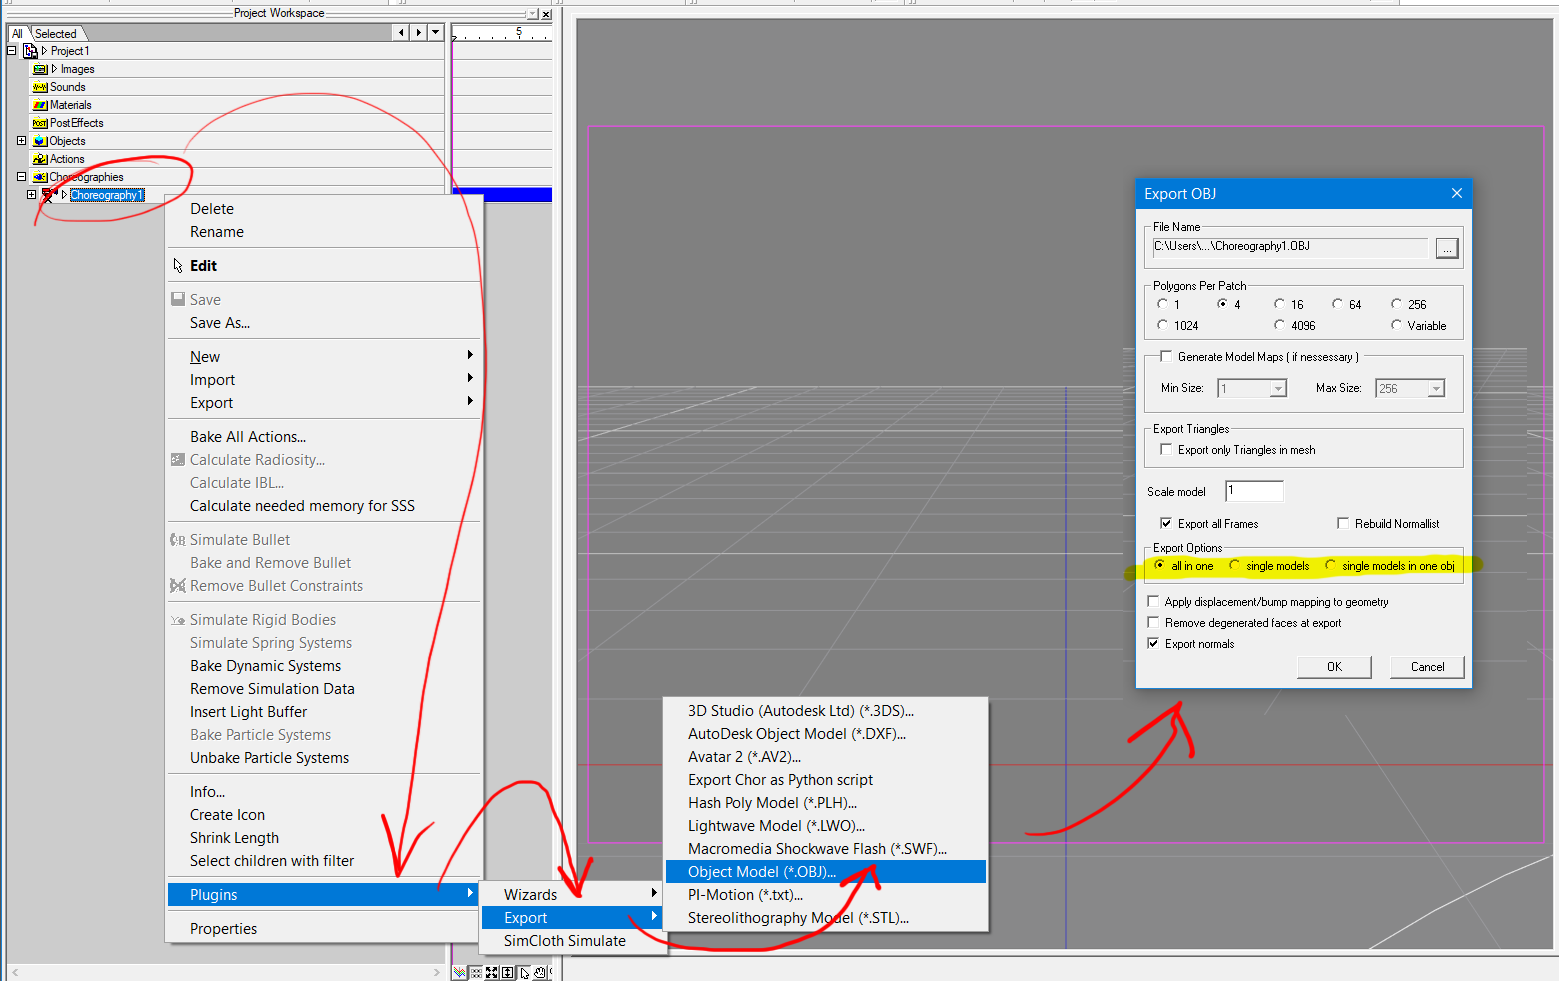
If I invoke the export plugin from a model, that choice won't appear because there can only one model to export from a model. If i invoke that export plugin from a Choreography ( on the Chor in the PWS), that choice does appear because there can be many models in a Chor. Likewise for the choice to "Export all frames"; it is only relevant in a Chor.
-
This?
-
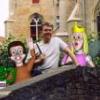
found these guys on an old AM cd
robcat2075 replied to johnl3d's topic in Tinkering Gnome's Workshop
Even Boris is looking good these days. -
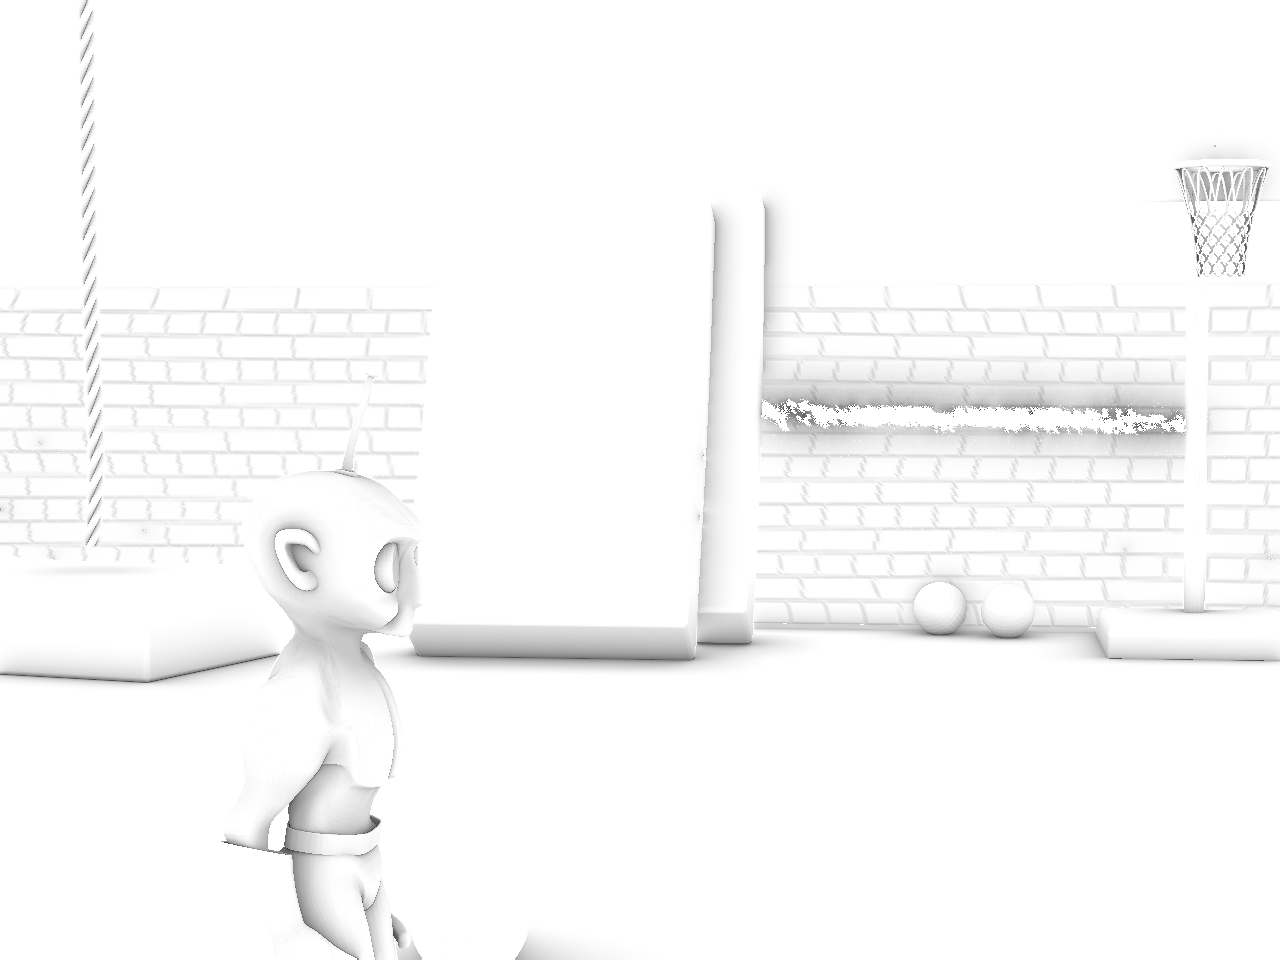
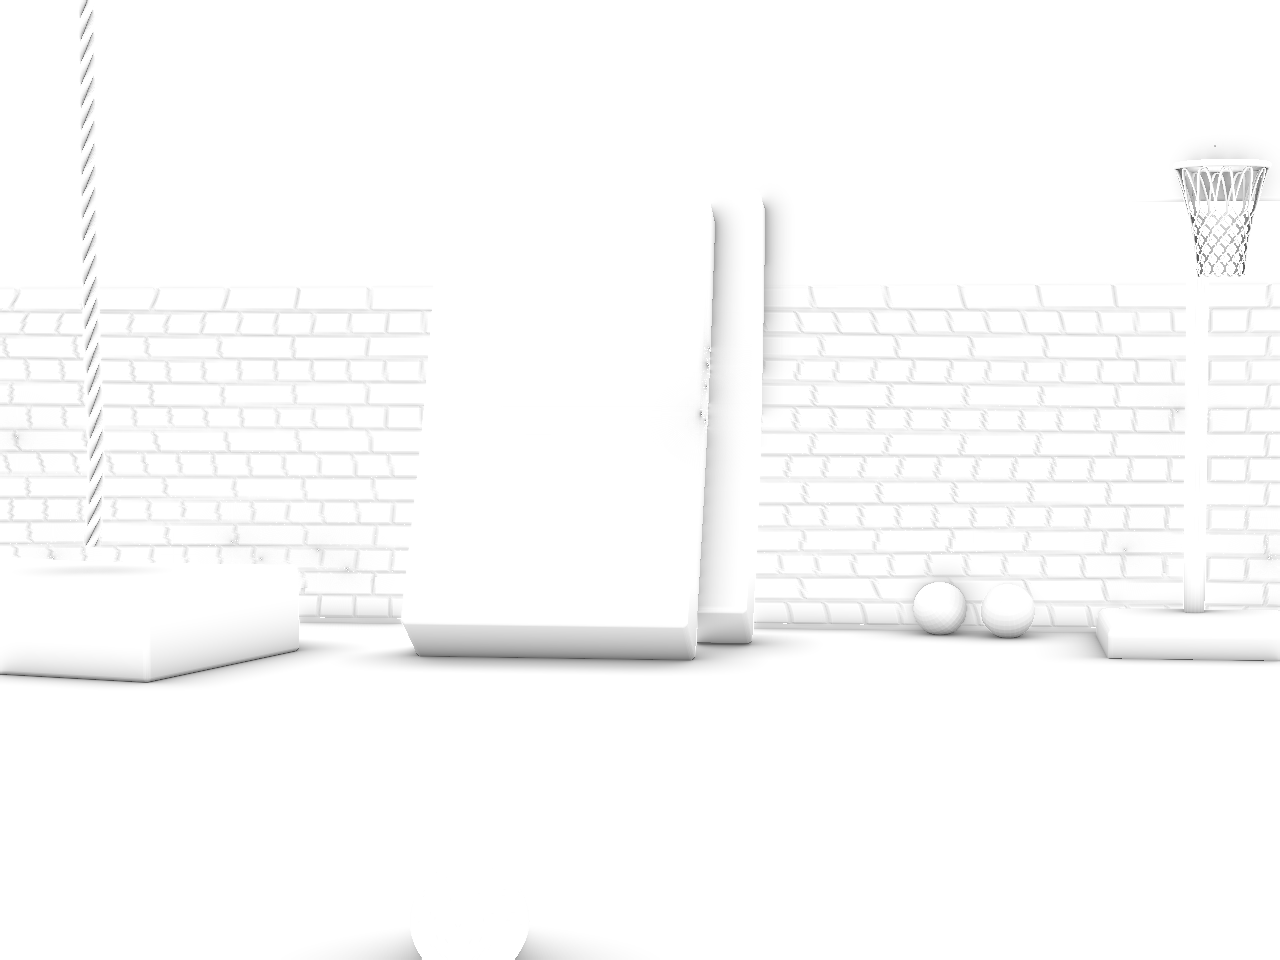
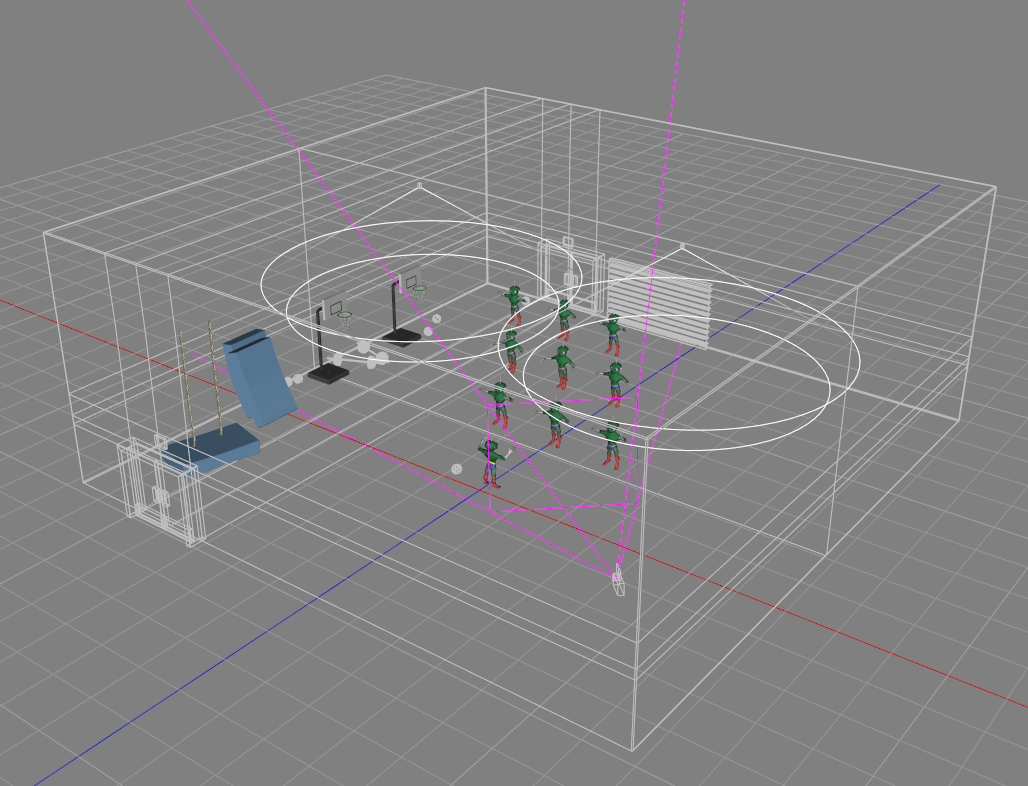
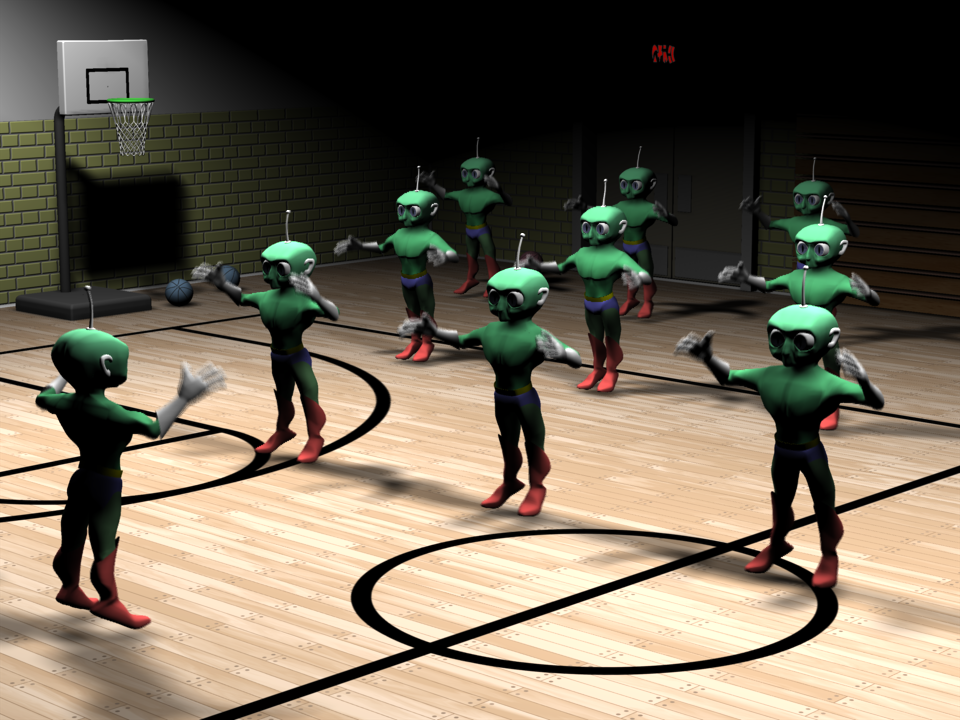
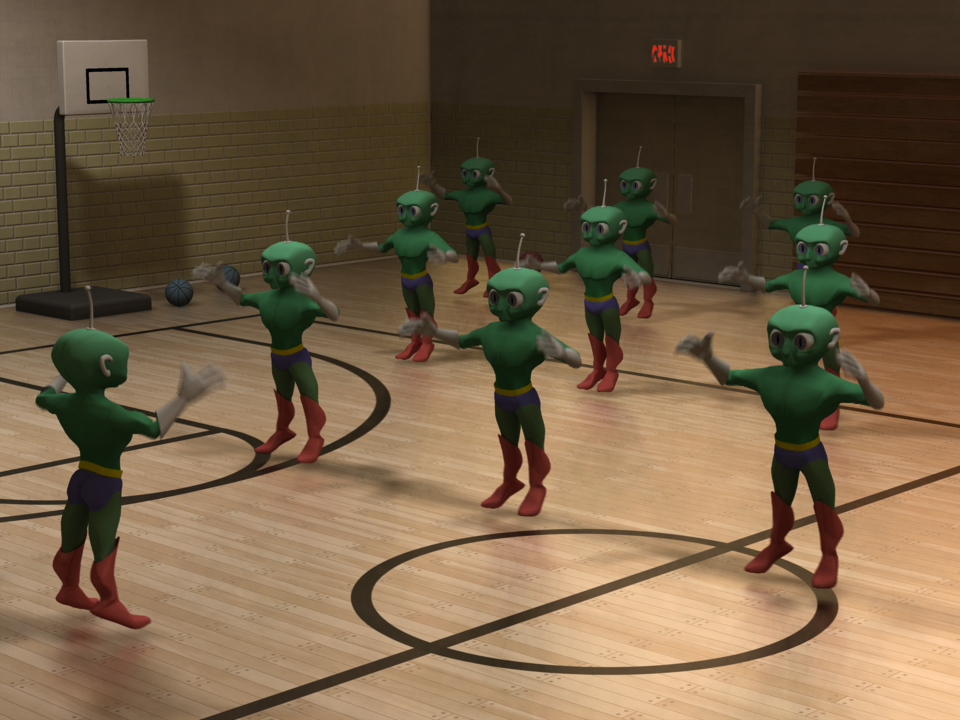
Here is another modern render of one of my old Animation Showdown animations. I added a school gymnasium set and rendered with radiosity. A birdseye view of the chor looks like this. The set is a completely enclosed box with two kleig lights in the ceiling... A conventional render with those two lights gets this... That is very severe. If I were going to use conventional lighting I would need add a number of fill lights in strategic places. Here is a radiosity render. The shadow areas are no longer pitch black and there is visible detail even where the lights do not directly shine. Overall, however, it is too dark for my taste. Increasing the Intensity of the lights so that the charcters were well illuminated caused the brightest spots on the floor to become overbright and clip. Instead I applied a gamma correction to the radiosity render. I''m liking this much better... Unfortunately, the shadowing that was indistinct in the raw render is now ever weaker. To give that some more bite i rendered a pass with ScreenSpace Ambient Occlusion (SSAO)... ... and composited that by "multiplying" it with the Radiosity. I did that in After Effects but an A:M "composite Project" can do the same operation. This PNG alternates "before" and "after"... SSAO has no anti-aliasing so I had to render those at 3x3 times the normal resolution to make smooth versions suitable for compositing. When A:M introduced Radiosity our computers weren't ready for it. Each render took so long that animation was unthinkable. But now with a modern CPU and NetRender it is within reach. My 640x480 test renders for this scene took only about 3 minutes per frame. After i got my settings decided and cranked up the quality, the full-frame final renders took only about 20 minutes each. Get started with Radiosity with Yves Poissant's Cornell Box Tutorial Learn more at Yves Poissant's Radiosity/Photon Mapping Pages


-
Thanks, David! I'm finding out now that this must be a 19.5 problem. If I go render in v19.0 the frames come out properly. I should have thought of this before since i already had a 19.5 problem with the regular color render of this scene.
-
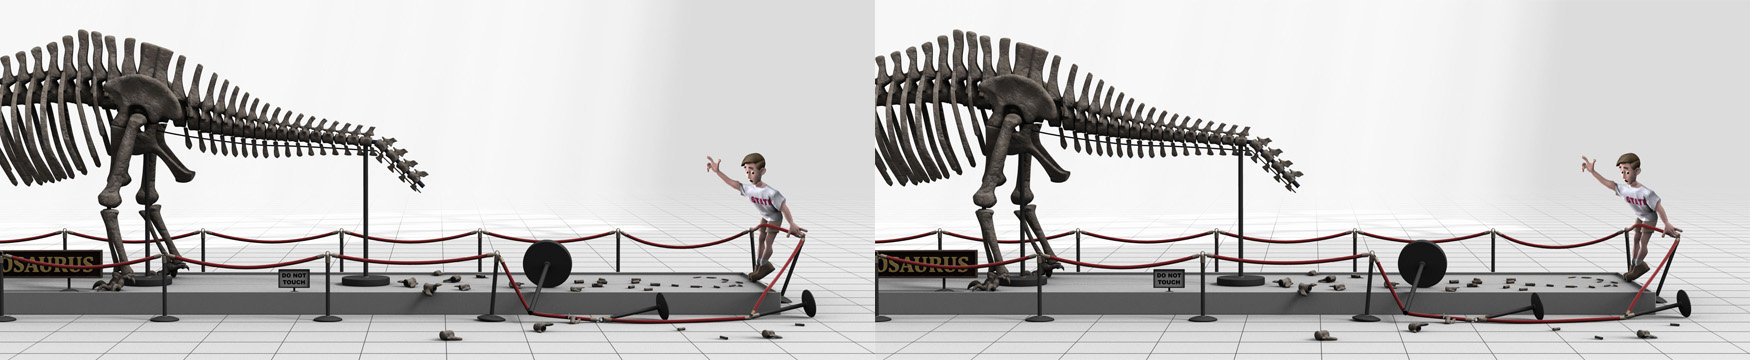
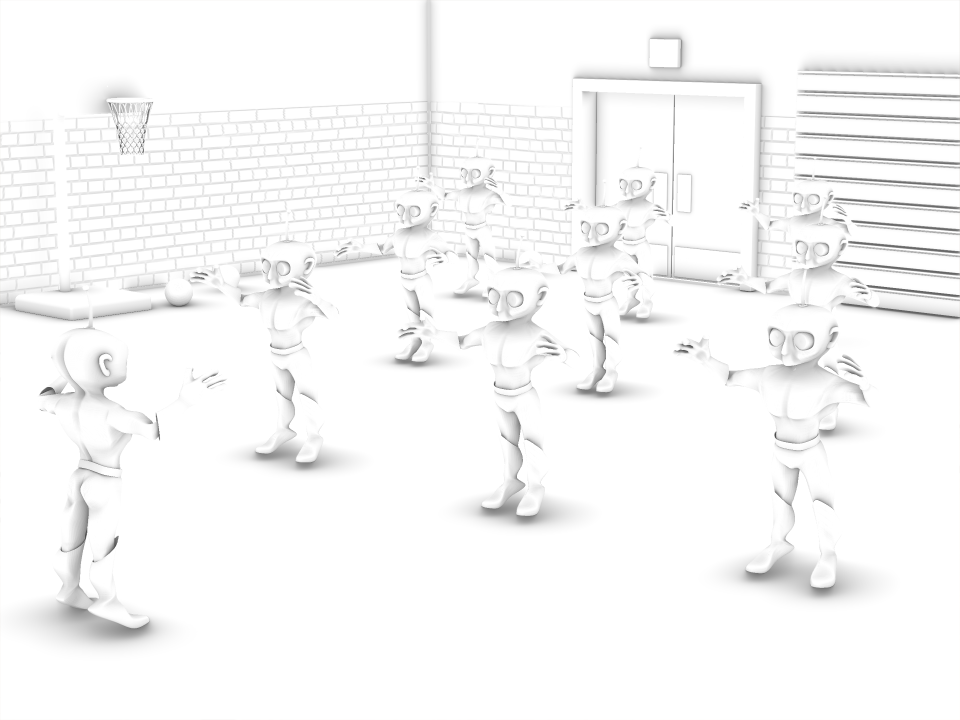
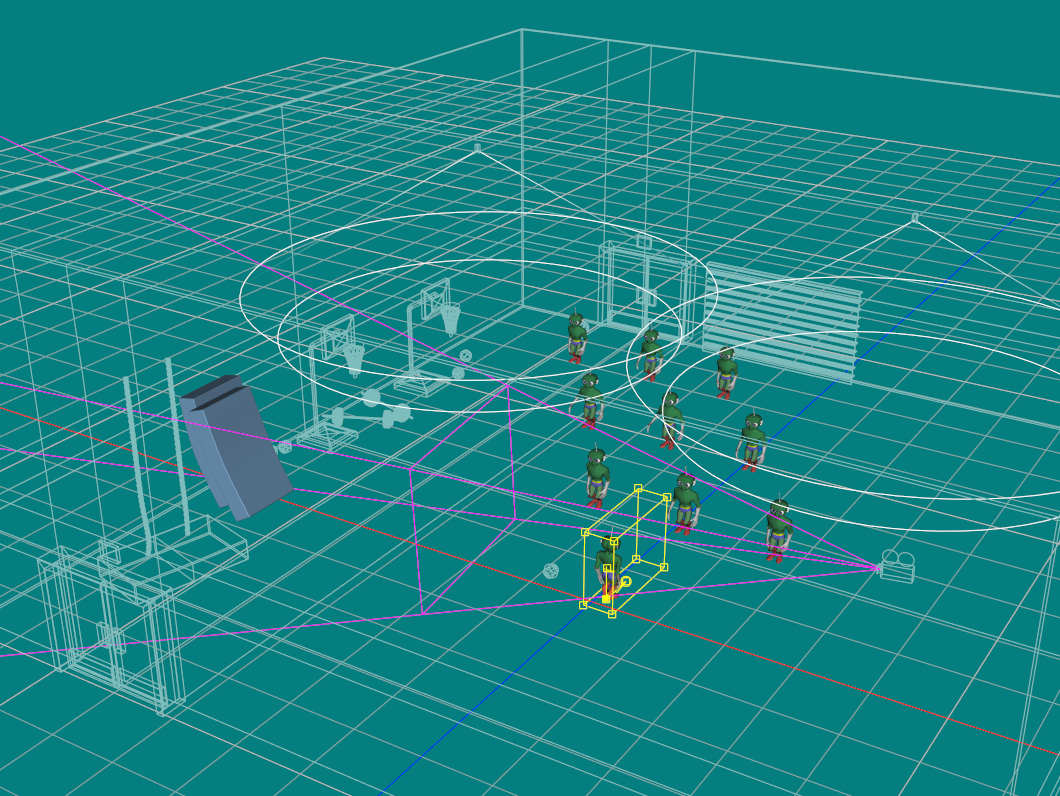
Here's a birdseye view of the chor. The alien in the camera view is highlighted, the offscreen aliens are to the right of the camera. But now I've gone through deleting each alien one-by-one, re-rendering that frame and the gash is still there...
-
Starting with the full chor plus a few additions, the gash is till there... But if I delete all the aliens, (there are about 9 offscreen to the right) the gash is gone, with a new, smaller scratch on the front-most cushion...